Follow us!

See our current kit selection!

Monday, March 26, 2012

New Product, Contests and our Semi-Annual Garage Sale!

Hello, Crafters!


Today I'm bringing you a VERY pic heavy post with all our NEW product & kits! Plus we'll talk about our new Facebook Fan Of The Week promo and the Semi-Annual Garage Sale (hello DEALS!!)


First up: Garage Sale! This is a two day event going on Saturday, March 31st through Sunday, April 1st.You'll find some AWESOME deals on scrapbooking, card making, paper crafting and other craft supplies from our many sellers, including a Cricut Expression that comes with three cartridges! Doors open at 10:00am on Saturday.


If you've been following our Facebook Fan Page, you've probably noticed our Fan Of The Week that posts every Thursday afternoon. One lucky Facebook Fan is chosen (by the Facebook app, not by us) to win 25% off the item or class of their choice! You have to be a "Fan" to win, and the more you participate on our page by "liking", posting or commenting, the better chance you have of winning!


We also installed a "Top Fans" app just for fun. That keeps track of who comments and "likes" our updates & photos the most. That one is just for fun, but the more often you are a "Top Fan" the better your chances of being picked as Fan Of The Week! :)


We try to post photos and/or updates daily, so be sure to participate for your chance to win!


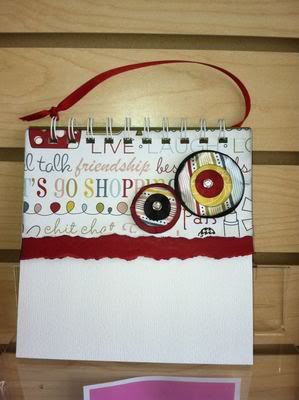
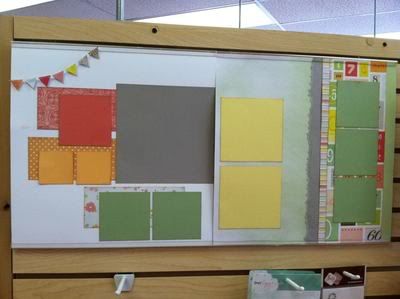
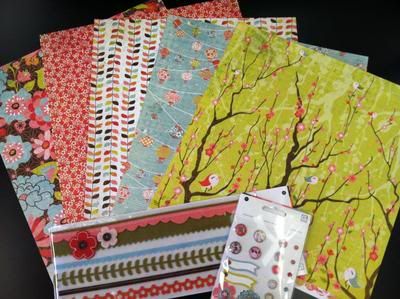
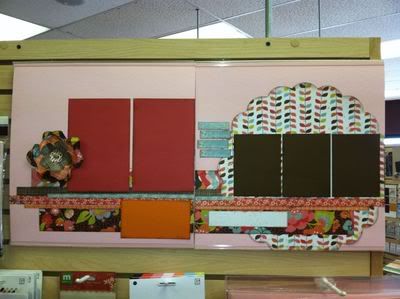
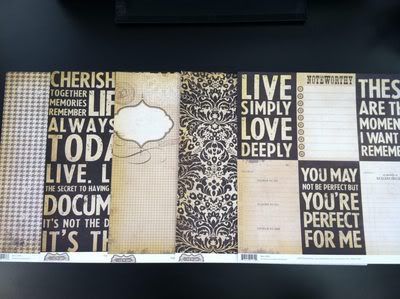
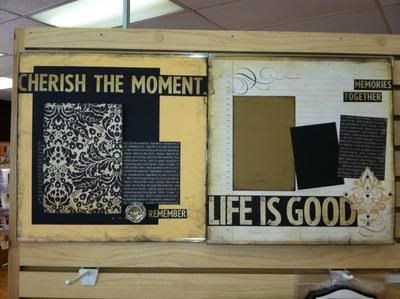
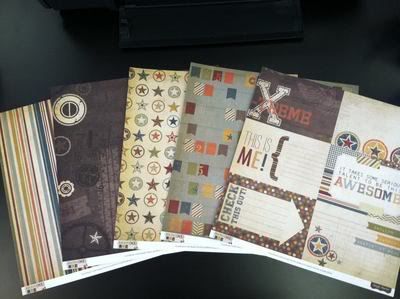
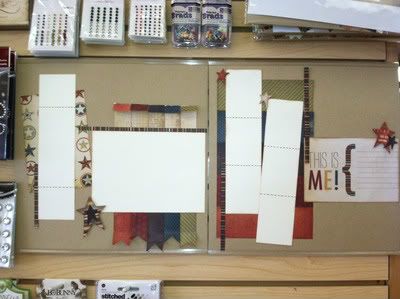
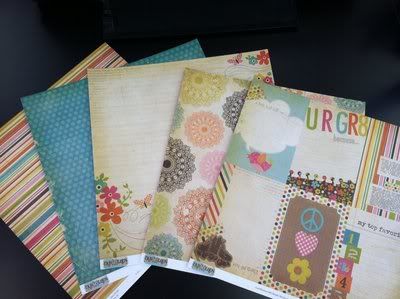
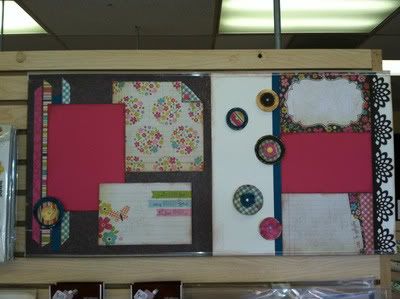
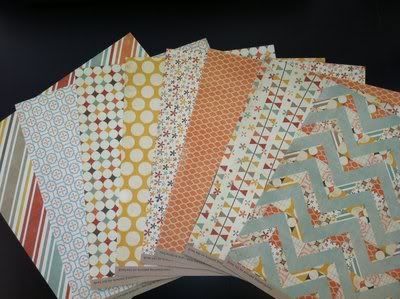
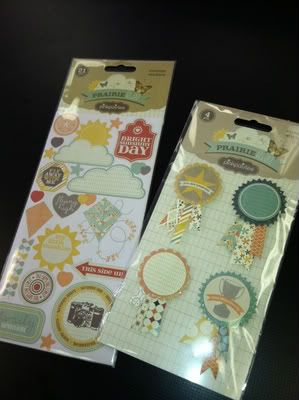
Now on to the REALLY fun stuff...new product! Here's a sampling of all the brand new stuff we got in March. These items and kits do NOT last long, so if you see something you've GOT to have, send us an email or give us a call and we'll be happy to ship it to you! If you see tons of stuff you just can't live without, ask us about flat rate shipping and save yourself some cash! All the kits you see below are 2-pg kits for $10 each,and as with all our kits, everything is pre cut with photos included. All you have to do is glue it down and add your pictures. All double sided paper is $.99ea. Embellishments range from $2 - $8. Call us for any details!


From Echo Park:


"This & That" (Boy and Girl)
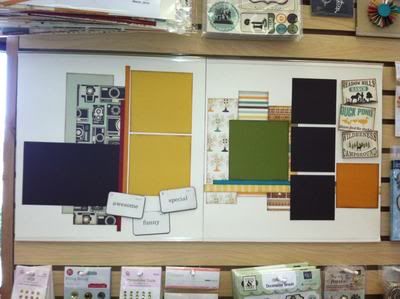
This & That - Boy
This & That Girl

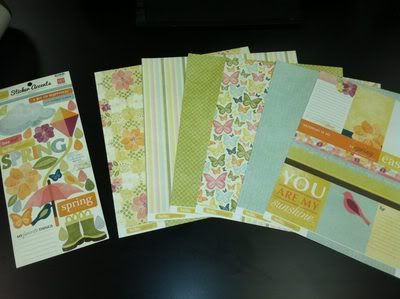
"Hello, Spring"
Hello, Spring


From Fancy Pants:


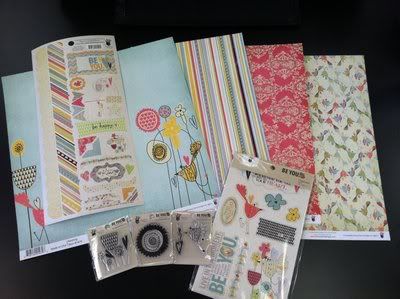
"Be You"
Be You

From Authentique:


"Gathering", "Celebrate" (and some "Genuine" product - kits for that are now sold out!)
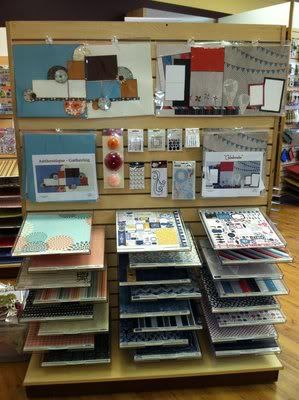
authentique

From Imaginisce:


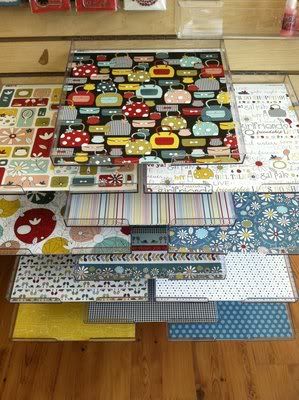
"Sole Sisters"
Sole Sisters

Mini Purse Album:
imaginisce


From American Crafts:


"Neapolitan"
Neapolitan

From Basic Grey:

"Konnichiwa"
 Konnichiwa
Konnichiwa


From Simple Stories:


"Documented"
Documented
Documented

"Awesome"
Awesome
 Photobucket


"Fabulous"
Fabulous
 Photobucket


From Pink Paislee:


"Prairie Hill"
 Prairie Hill
 Photobucket
 Photobucket

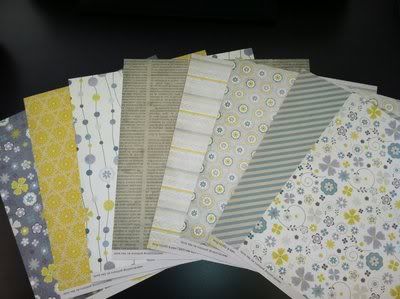
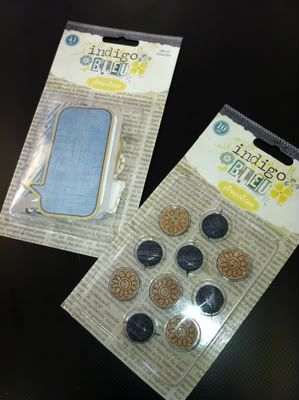
"Indigo Bleu"
 Indigo Blue
 Photobucket


From Bella Blvd.:


"Spring Flings & Easter Things"
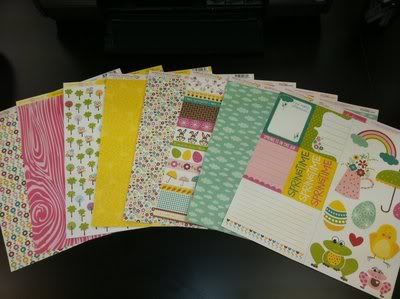
 Spring Flings & Easter Things


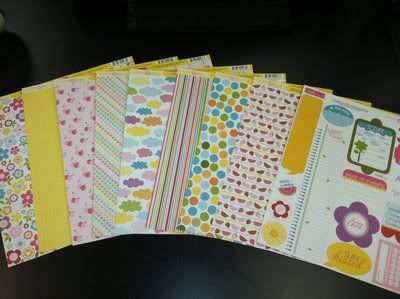
"Sunshine & Happiness"
Sunshine & Happiness


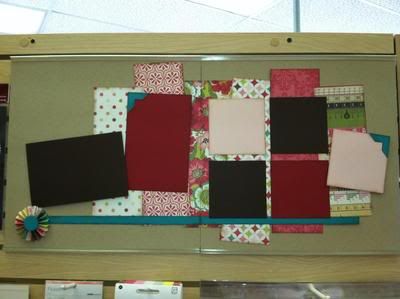
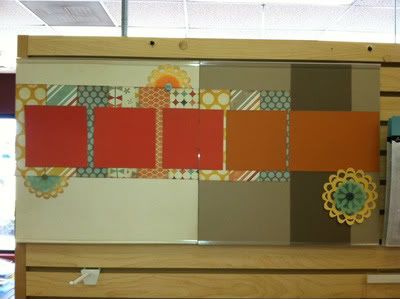
Some of our past kits (ranging from $10-$24)
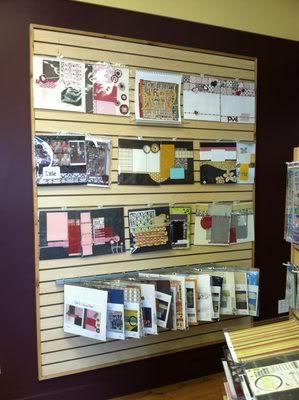
kit wall

We have even MORE kits and new product coming, so keep checking back to see them! If you have any questions about any of the items you see here in this post, call us at 970-484-0595

Happy scrapping!


-Jess

Friday, March 23, 2012

Tips & Techniques: Paper Flowers

Hello crafters!

Today I'm going to share some wonderful videos with you from one of my favorite craft blogs, Little Birdie Secrets!

These are flower video tutorials and I have used them many times in the past on some of our classes and kits, but not everyone knows how to make them. So check these out and hopefully you'll learn something new!

This is one we use a LOT at Capture. It's called a "spiral paper rose". Works great on solid & patterned paper, as well as old book paper or music sheets. If you're using a stiff paper such as cardstock, you'll want to mist it with water before you start rolling it up and forming the "petals". Enjoy!


This one is called a "box top" flower, and looks great with double sided paper!


Hope you learned something new, or at least discovered how fun the Little Birdie Secrets blog is! :)

Happy Scrapping!

-Jess

Thursday, March 8, 2012

Tips & Techniques: Glimmer Mist

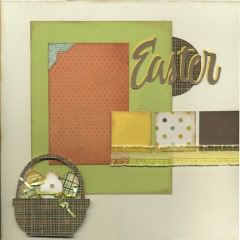
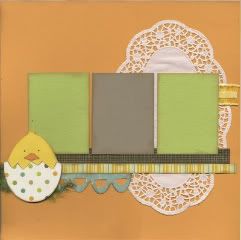
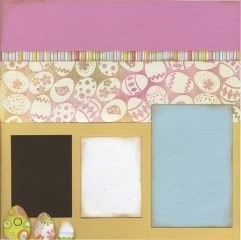
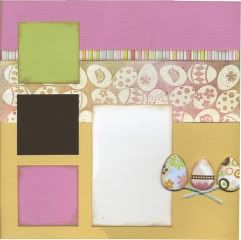
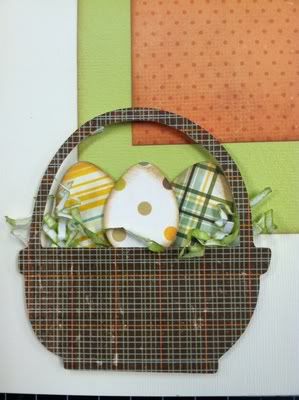
As promised on our Facebook Fan Page, today I will show you the mystery embellishment I used to make Easter grass on our upcoming Easter Pages (Saturday, March 17th from 1-3pm).

Here's what the pages look like:
Photobucket Photobucket
PhotobucketPhotobucket

(To register for the class or have a kit saved or shipped to you, click here.)

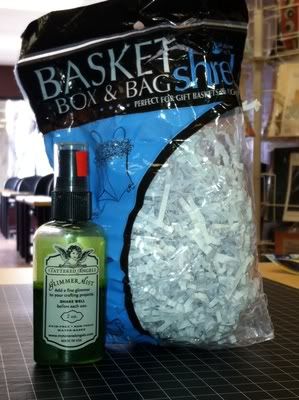
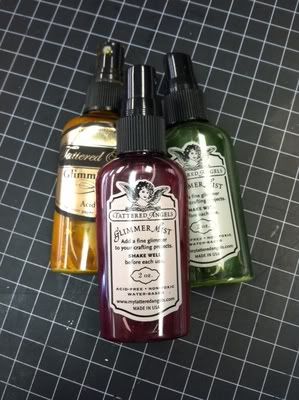
I wanted something that looked like Easter grass for the basket, but I didn't want to use the plastic Easter grass on my pages. So I grabbed some "Basket, Box & Bag Shred" in white and some Glimmer Mist in Key Lime and got to work!

Photobucket

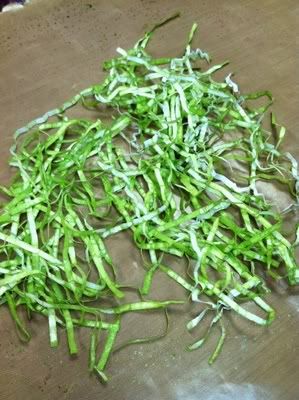
After putting down a tablecloth to protect my work surface, I took a small handful of the shred and sprayed it generously with the Glimmer Mist. (I had to use a handful since I needed to make enough for all the kits, but for just one project you'll only need a few strands.)  I flipped it over and sprayed the other side, then sort of "tossed" it around like you would a salad to make sure it got nice and mixed in. You might even spray it a couple more times just to make sure it's mostly green, but again I was working in a larger batch.

Photobucket

I spread it out to let it dry before putting it on my page. To adhere it, I put a couple strips of Tacky Tape down (glue dots would work as well! Anything that's super sticky!) and smooshed it into the tape. Then I used foam squares to adhere my eggs and basket.

Photobucket

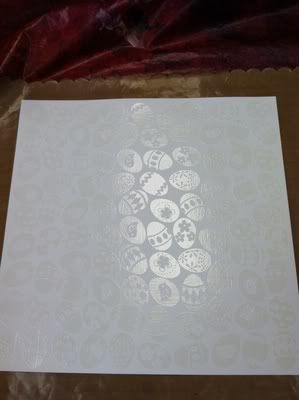
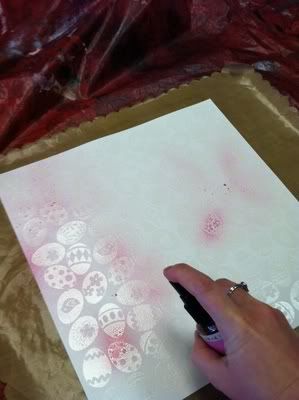
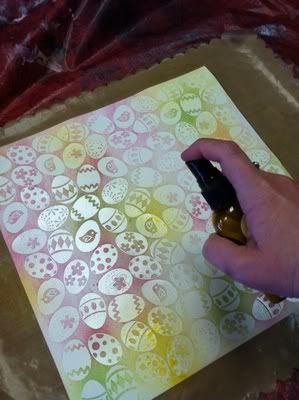
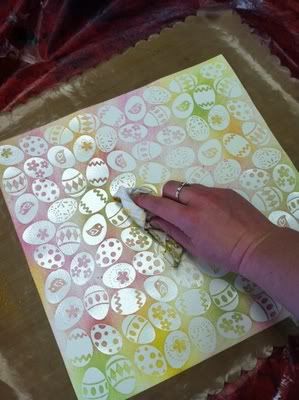
Another fun way to use Glimmer Mist is called the Resist technique. Basically you put ink or Glimmer Mist over an embossed image, so that the embossed part stays white (or whatever color it was originally) and the ink sticks to everything else.

Here I used some white embossed Easter egg paper:

Photobucket

I sprayed it first with a pink mist (S.W.A.K. to be exact)...

Photobucket
Photobucket

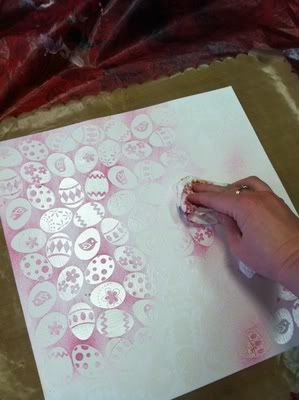
...and then immediately wiped off the excess with a paper towel:

Photobucket

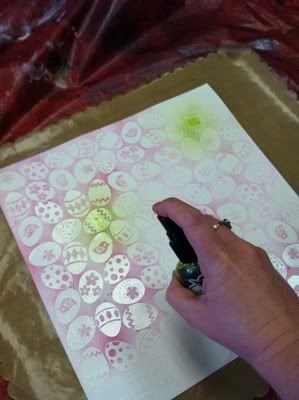
I repeated those same two steps with Key Lime and Daffodil:

PhotobucketPhotobucket
Photobucket

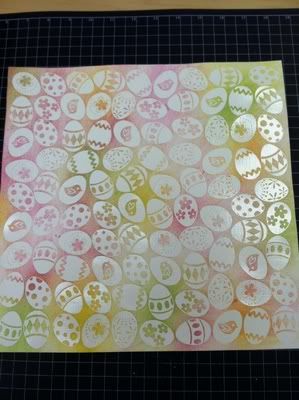
This was the end result:

Photobucket

It reminded me of dying Easter eggs. :) It also looks like tie-dye!

You can get the same effect by stamping an image in Versamark ink and embossing it with clear embossing powder. Then just ink or spray over the embossed image and wipe off the excess.

That's it! Hope you have fun playing with some Glimmer Mist! Just a warning, you will get a bit dirty, but it's worth it! :)

Happy Scrapping!

-Jess